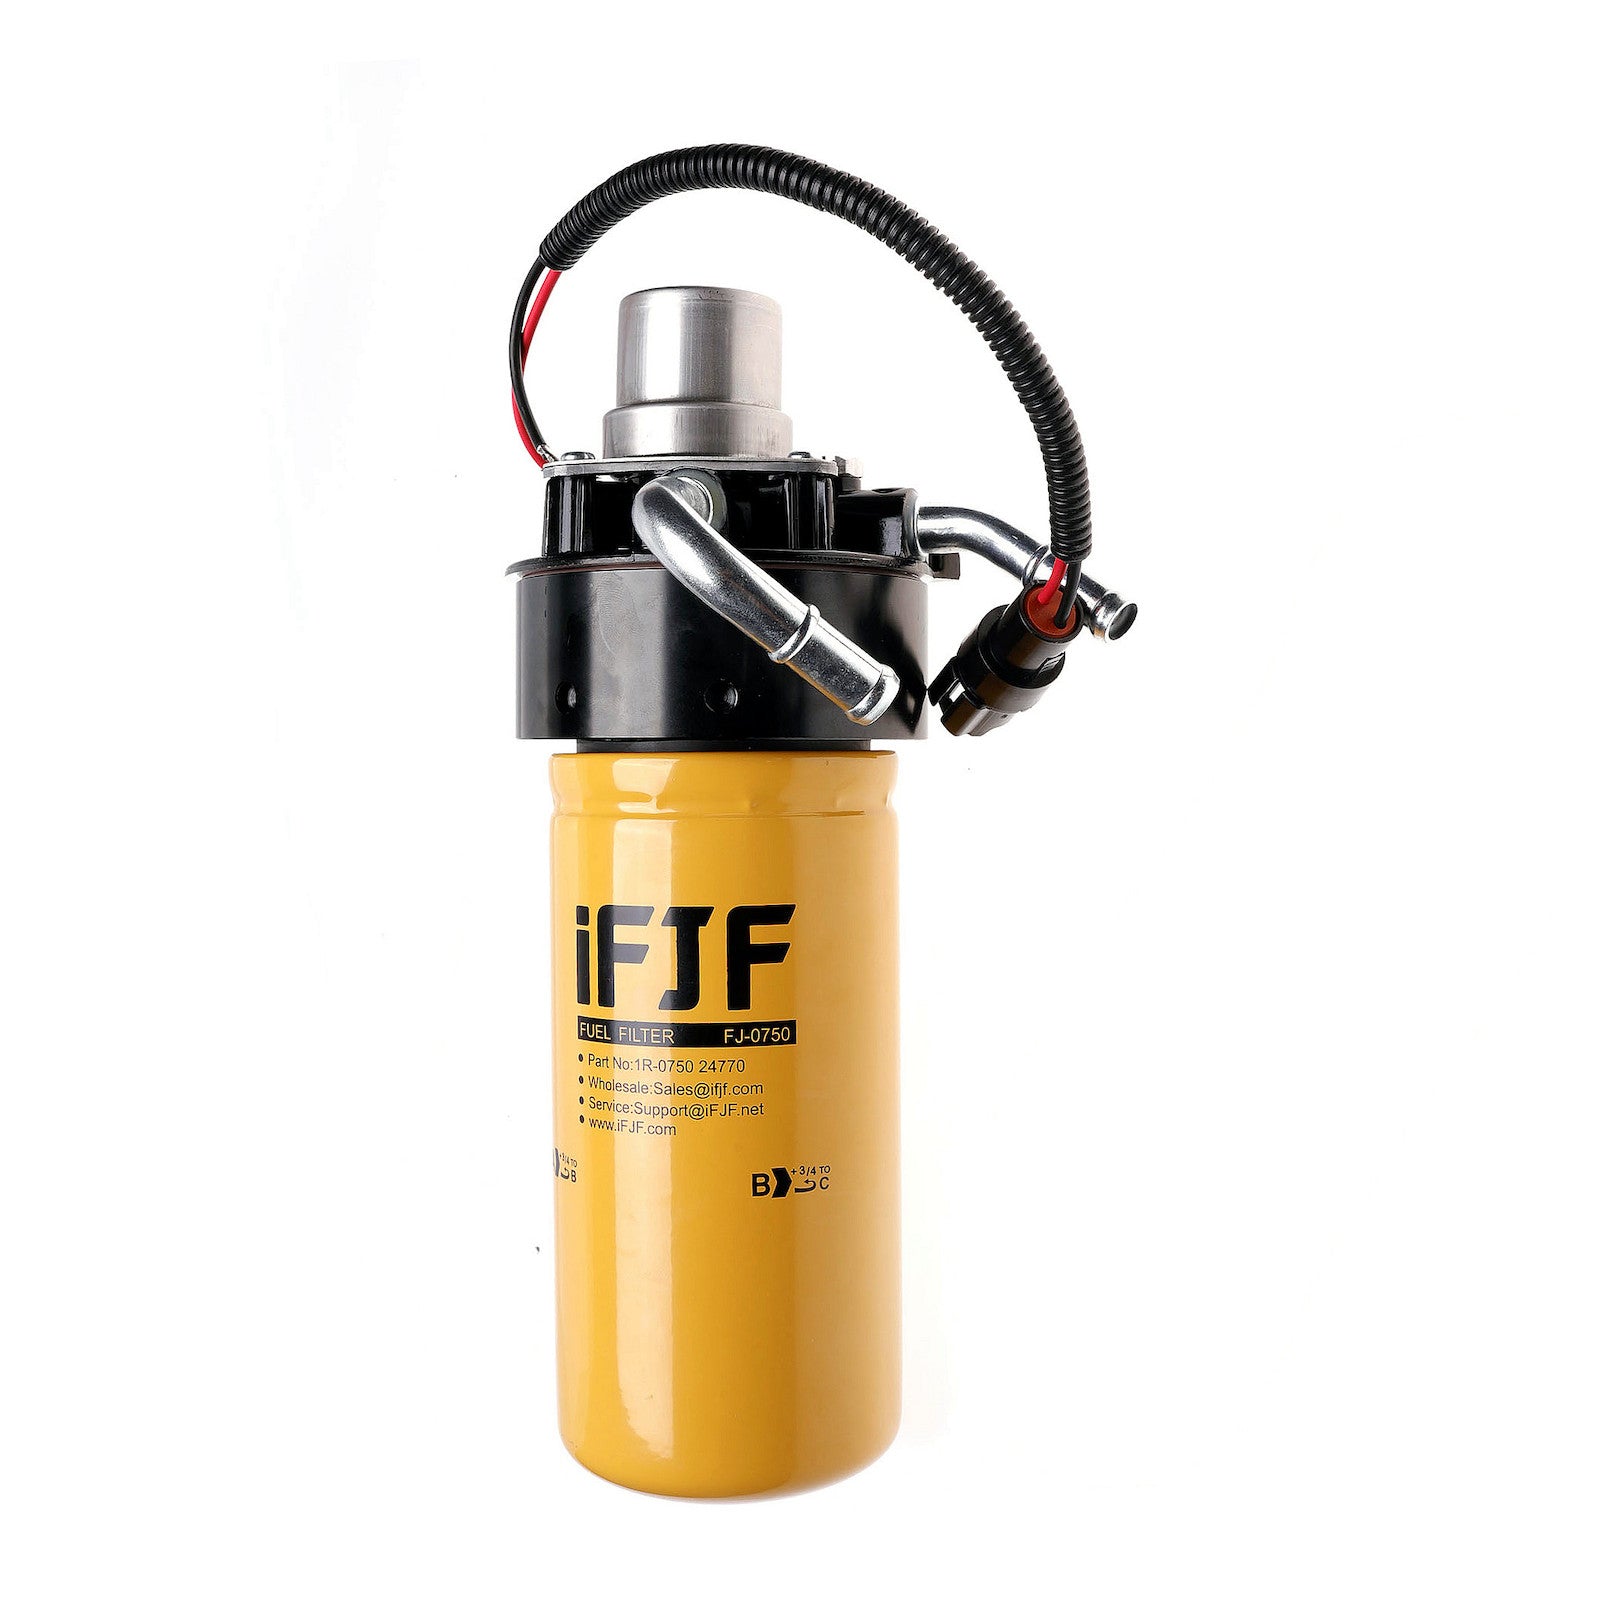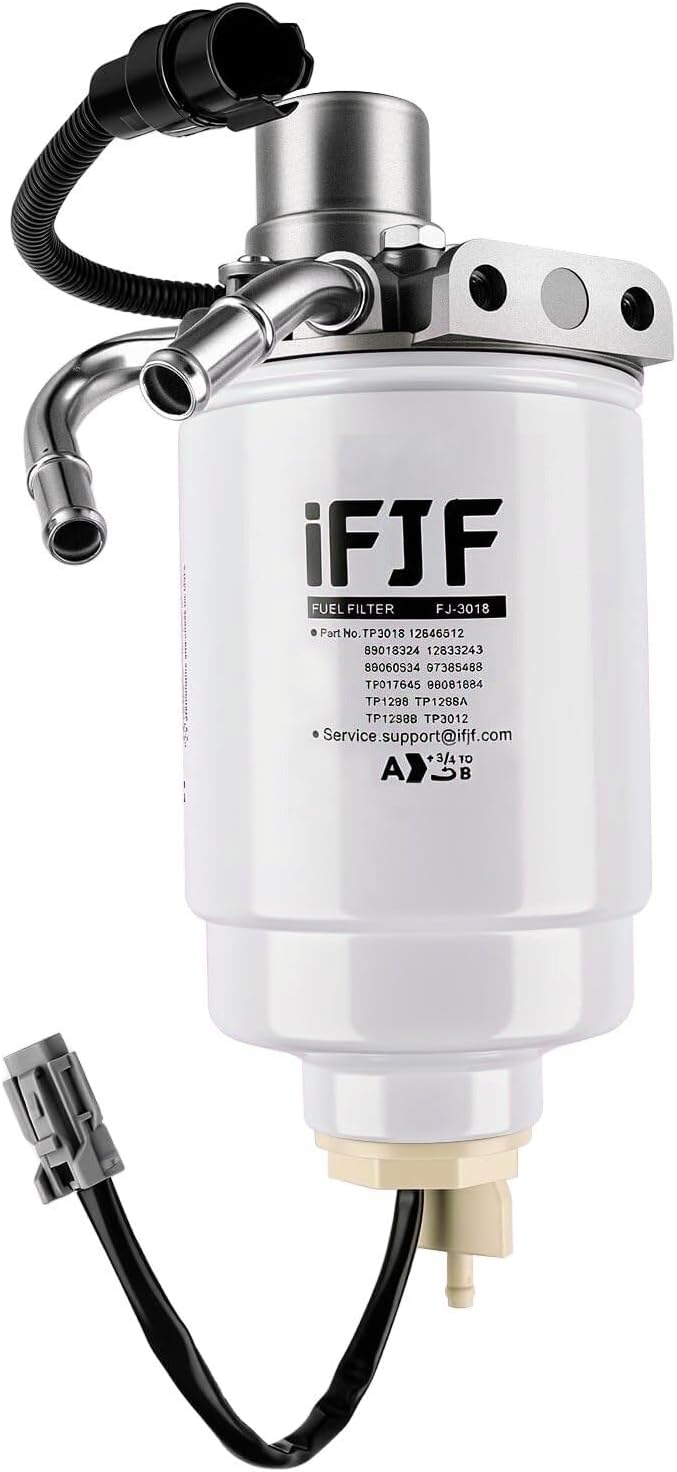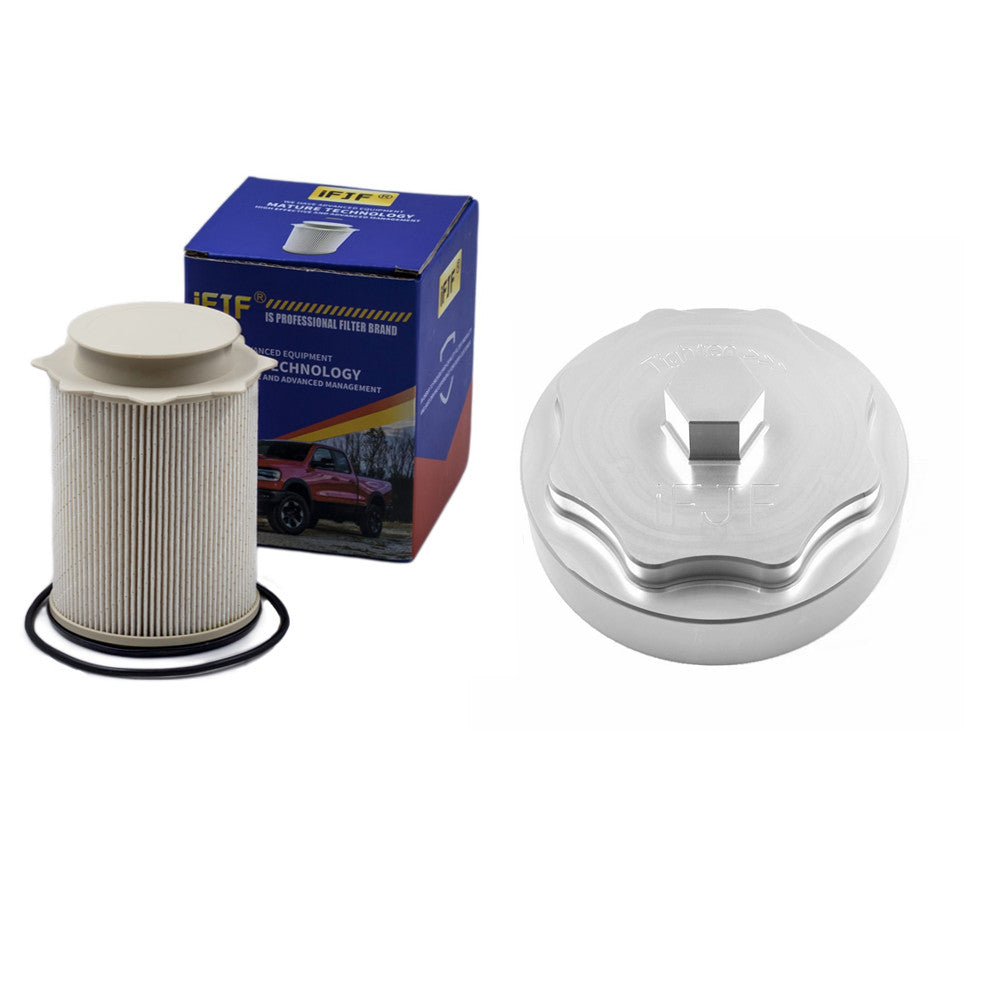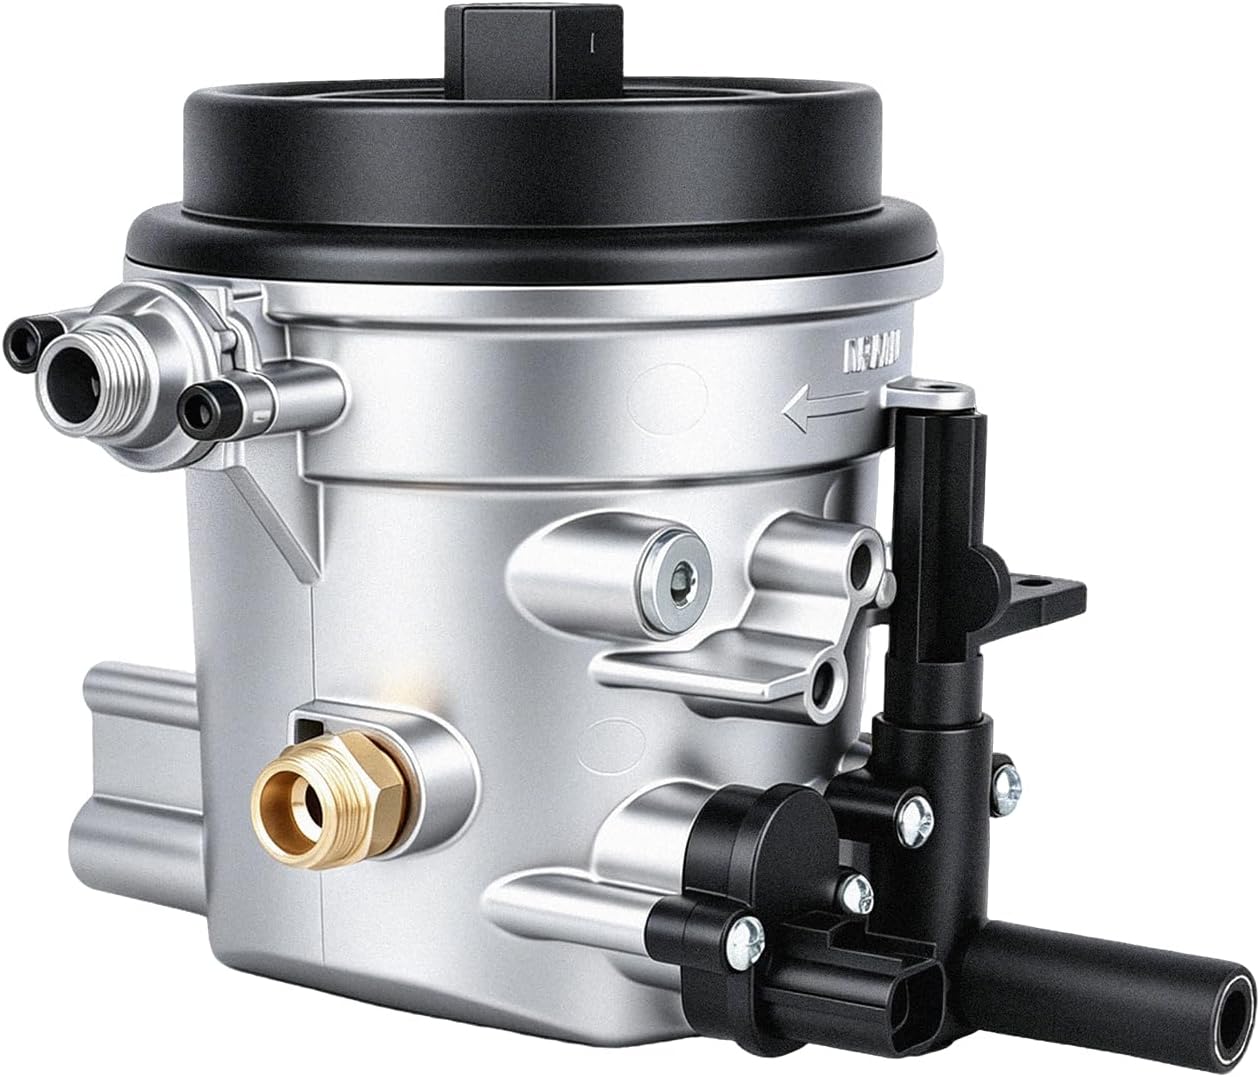
Three ways the filter head fails
- The primer button cracks. The unfilled nylon button on top of the housing goes brittle with heat. One push to prime after a filter change and it splits in the hand — and with no way to bleed the system, the truck is not going anywhere.
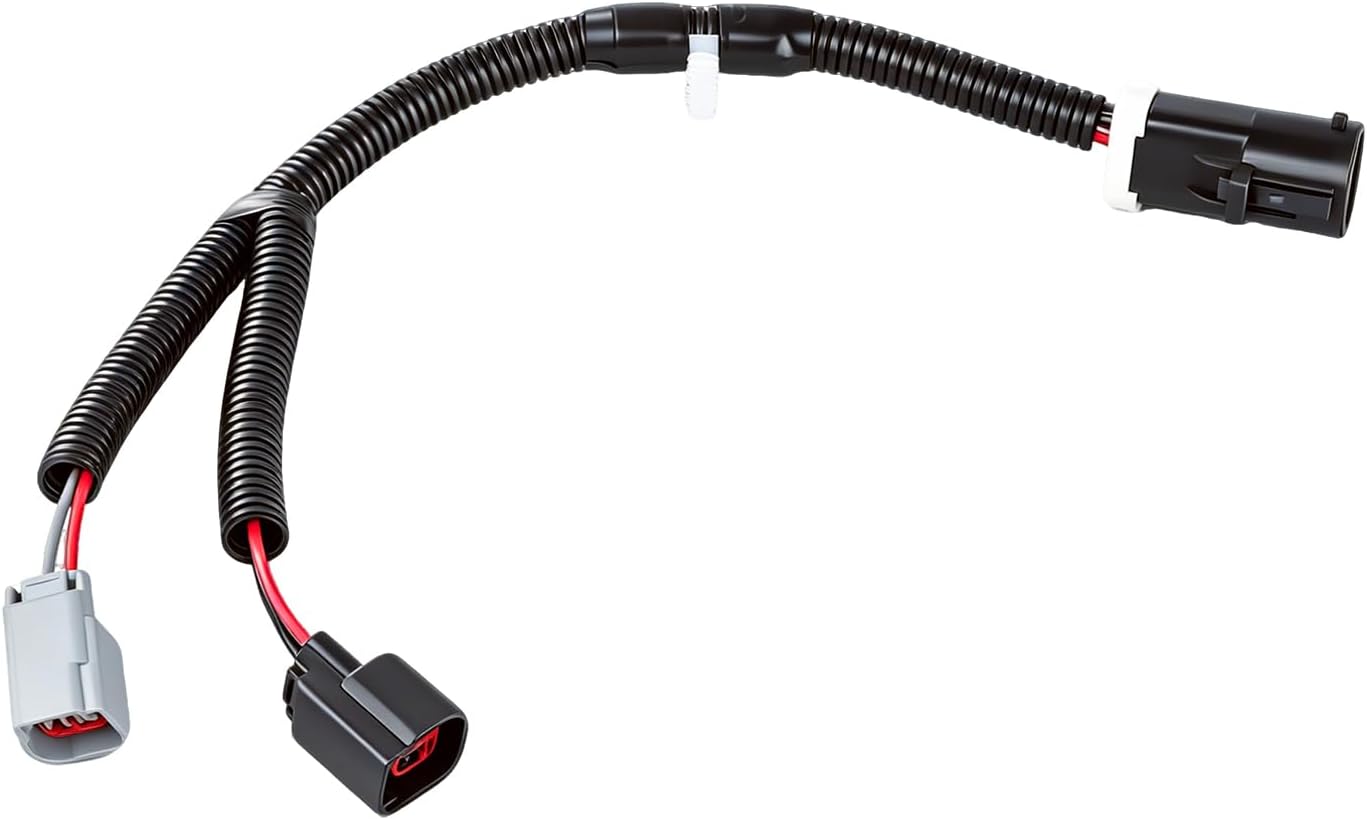
- The heater connector melts. The fuel heater in the base cycles often enough that the electrical connector overheats and deforms. It can take the pigtail with it; once the connector body is a solid lump, there is no separating it without cutting.
- The bleeder screw galls. A small brass screw threaded into aluminium, cycled hot, will gall. Crack it to bleed and it rounds off — or the thread pulls out of the body and the whole housing is scrap.
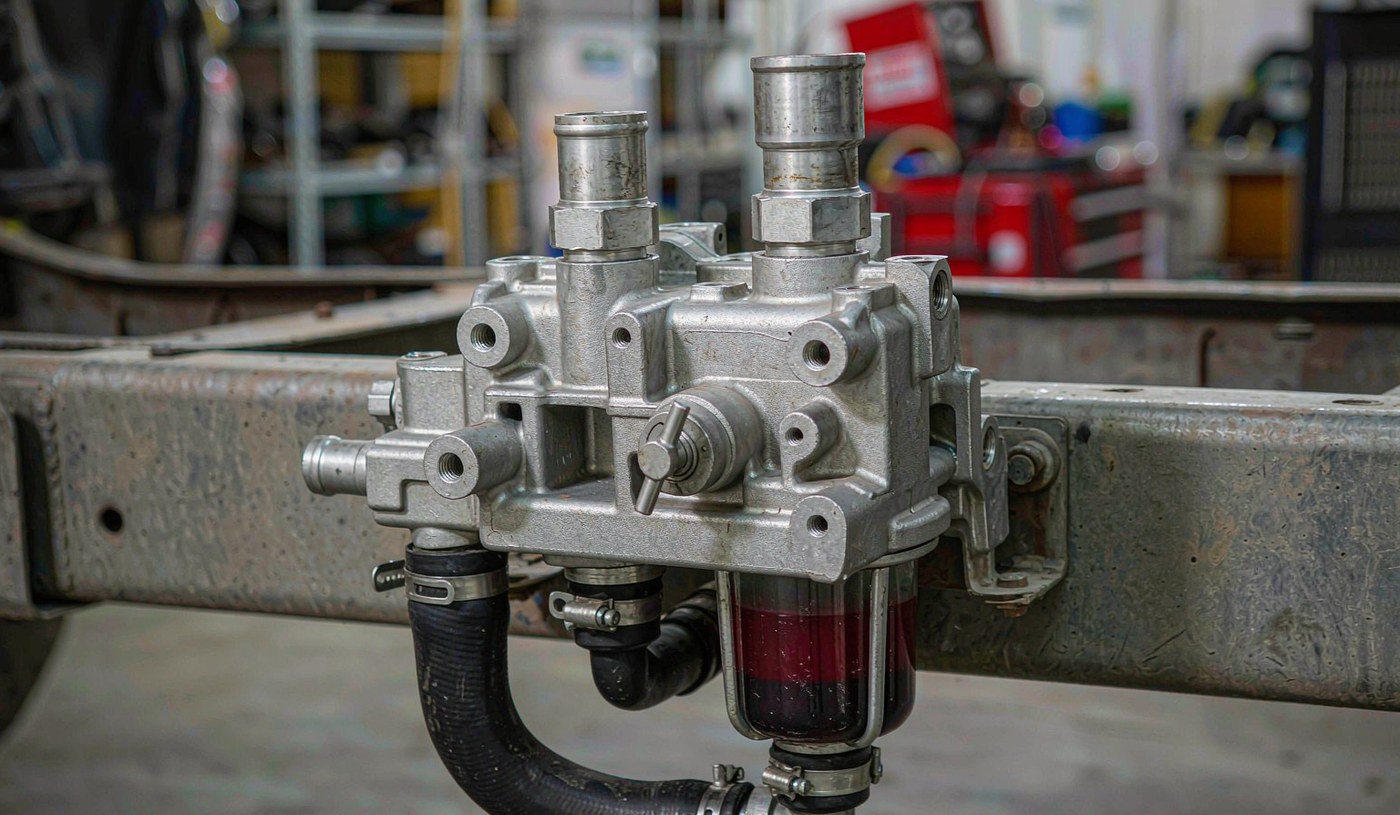
The housing bolts to the intake side of the engine bay and carries the primer, heater, bleeder and water-in-fuel sensor in one casting.
What separates a serviceable housing from a repeat failure
Primer button — glass-filled nylon instead of unfilled; 200,000+ miles of heat cycling without going brittle
Bleeder screw — anodised aluminium, same expansion rate as the body, so it comes out clean at every service
Heater — an even-distribution heating sheet rather than a point element, which removes the hot spot that cooks the connector
Filter seal face — CNC-machined; a rough face will not seal however new the O-ring is
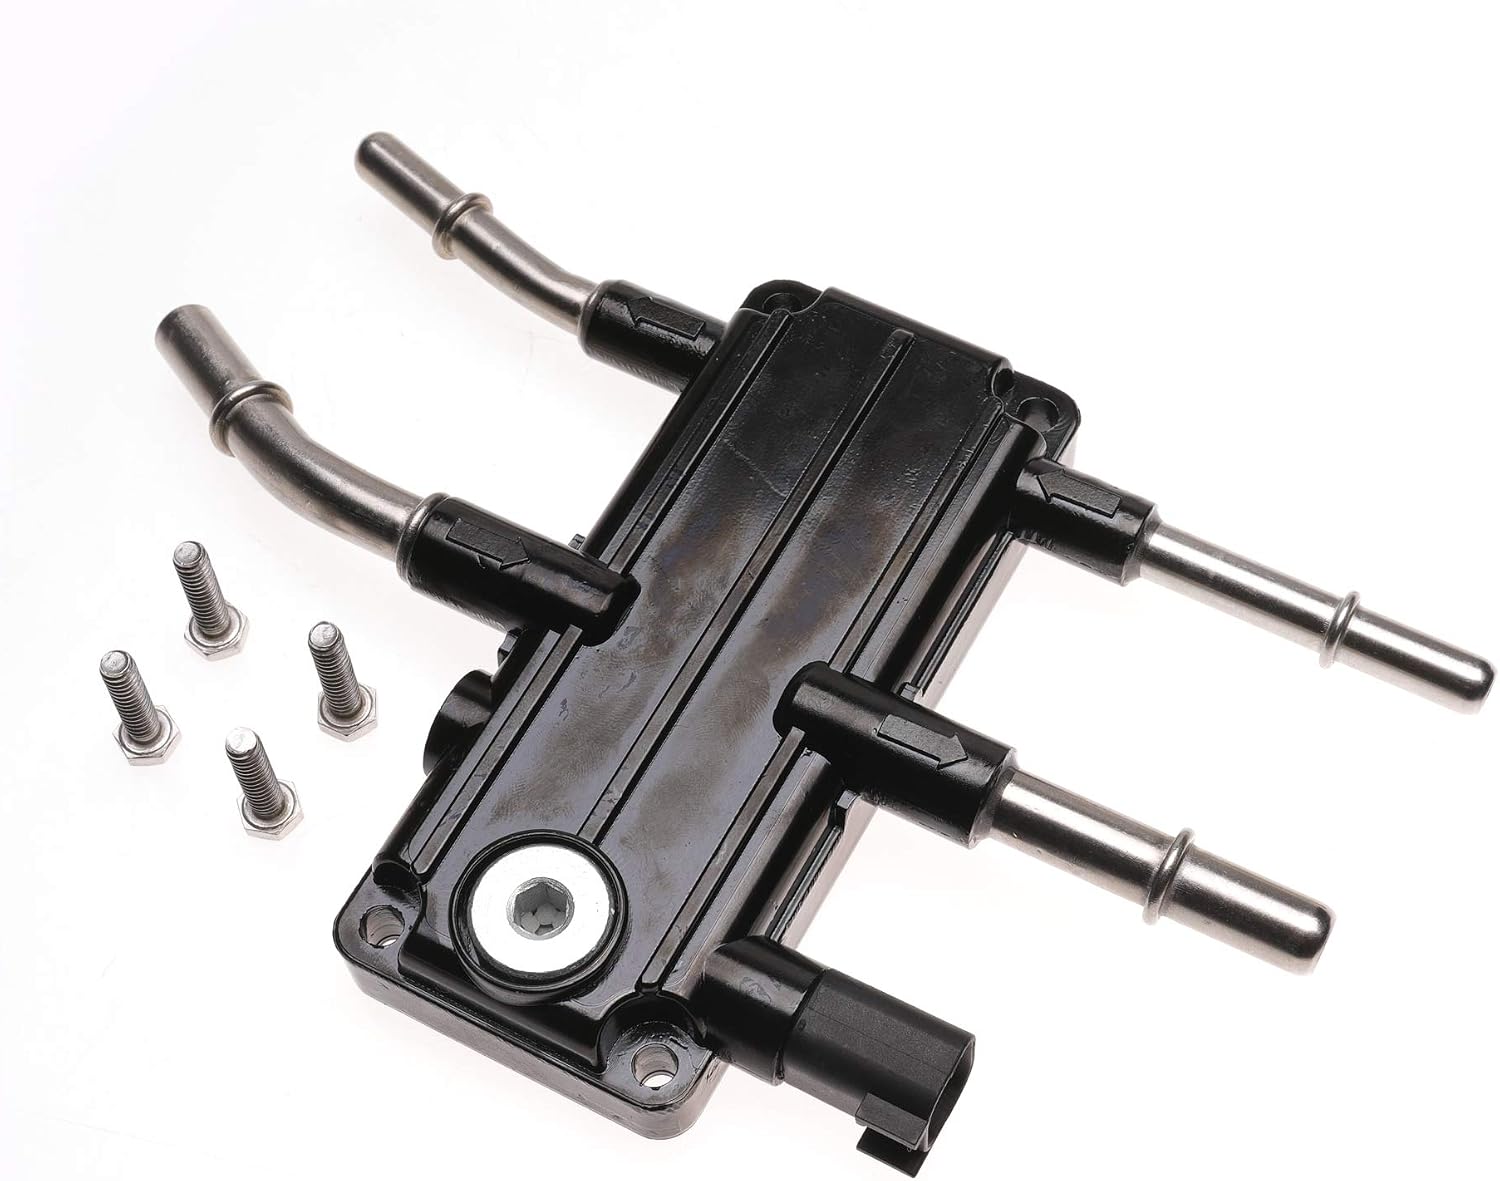
Included fittings — two inlet fittings and two plugs, so nothing is robbed from the old unit
Cross-reference
GM / ACDelco — 12642623 (LLY / LBZ / LMM, 2004–2013)
FJFilter — FJ-DM12642623, complete assembly with fittings
Fitting and priming
- Disconnect both batteries. You are working on a fuel circuit.
- Open the water drain at the base of the housing and let it run into a pan — expect 8–12 ounces of diesel.
- Release the heater and water-in-fuel connectors. The heater plug may need a pick to release the tab.
- Crack the four fuel lines with a 13mm wrench and cap or plug them. Dirt left in a line ends up in an injector.
- Remove the two 10mm bracket bolts; the front one is easy, the rear one needs patience. Support the assembly as the last bolt comes out.
- Transfer the bracket and the water-in-fuel sensor to the new housing. Film clean diesel on the filter seal before seating the filter.
- Thread the included fittings in by hand and torque to 18–20 ft-lb. They are machined for a dry seal — no tape, no sealant.
- Refit the assembly, reconnect the lines, then the electrical connectors with dielectric grease on the pins.
- Cycle the key to RUN — not START — five or six times. The lift pump runs about 30 seconds each time; the tone shifts from a rattle to a steady hum when the system is primed.
- Start, idle, and check every joint you touched. Then drive ten minutes and check again — thermal leaks show up warm.
Before you close the hood
- If the old heater connector was melted, fit a new pigtail. The heater draws around 10 amps; a bad splice will melt again.
- Bleed through the aluminium screw during the key-on cycles until the fuel runs bubble-free, then nip it to 8–10 ft-lb. Less torque than a brass screw needs.
- If the fuel lines are original, this is the moment to change them. SAE J30R9 injection hose, 3/8 in.
FJFilter supplies the complete Duramax filter housing assembly and matching filter elements for fleets and workshops, with cross-reference data and sample quantities for evaluation. Send your vehicle list and we will return a matched filter and housing schedule.